Installation Guide#
Let’s get started with ancpBIDS. To install ancpBIDS, run the following command in your terminal:
pip install ancpbids
It can also be upgraded:
pip install --upgrade ancpbids
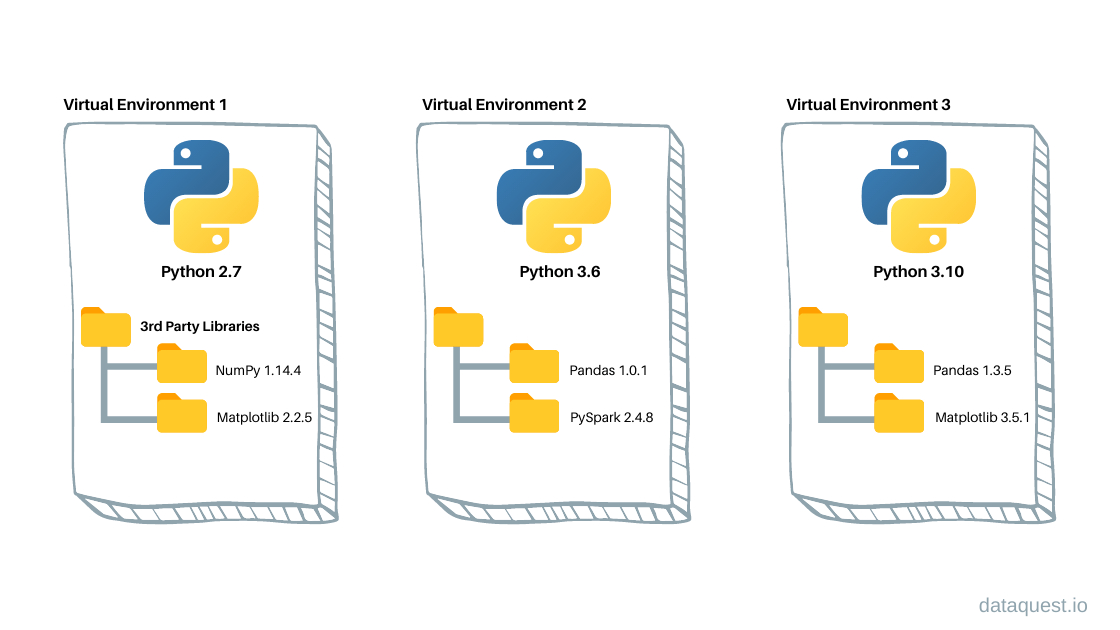
Virtual environments#
Before starting with the tutorial, we want to briefly explain you about virtual environments and containerization.
Virtual environments create isolated and self-contained workspaces, allowing us to manage project-specific dependencies separated from system-wide installation. This isolation has several benefits:
Avoid dependency conflicts: prevents interferences between project-specific and system-wide dependencies, such as common errors related to version mismatches.
Transparency and Open Science: Ensures that others can replicate your results and reproduce your analysis reliably.
Create and activate your virtual environment#
The following steps should be run from a Bash terminal (e.g., your Linux shell, WSL, macOS Terminal, or Git Bash). These are not Python commands.
Navigate to the directory where you want to create the environment using the
cdcommand in the terminal.
cd /path/to/your/project
Create the virtual environment:
python3 -m venv <your_environment_name>
Activate the virtual environment:
source /path/to/environment/bin/activate
Next section#
In the next section we will show how to use ancpBIDS to fetch datasets and perform basic queries.