
Installation of MEGqc#
Now we’ll start with the installation process for MEGqc. Before diving in, we’ll briefly explain virtual environments and containerization:
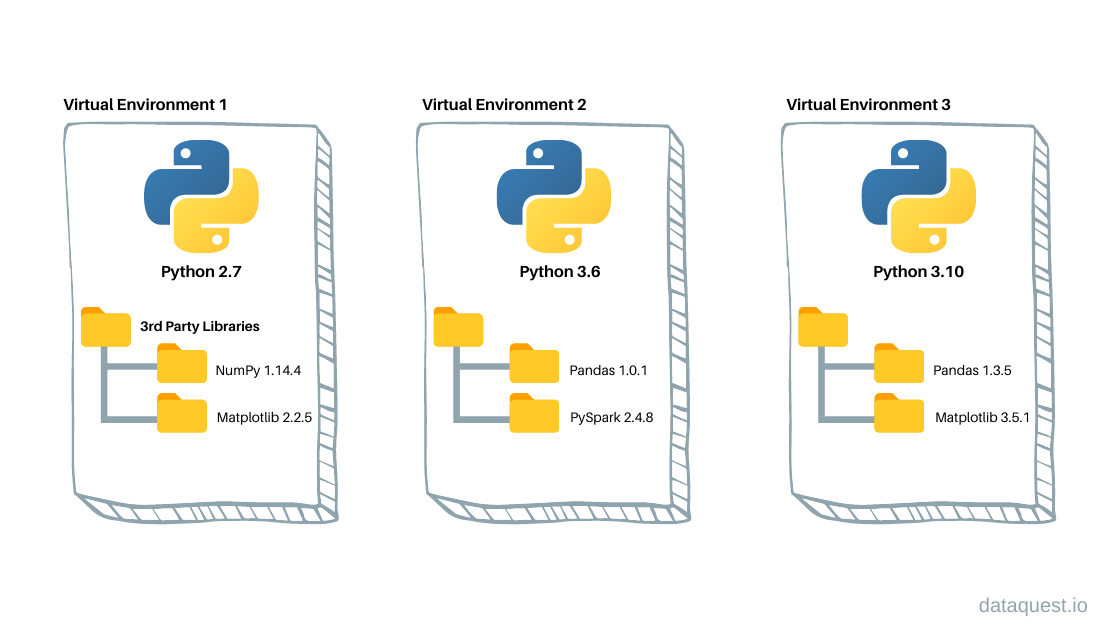
Virtual environments#
Virtual environments create isolated and sel-contained workspaces, allowing us to manage project-specific dependencies separatedly from system-wide installation. This isollation has several benefits:
Avoid dependency conflicts: prevents interferences between project-specific and system-wide dependenciesm, such as common erors related to version mismatches.
Transparency and Open Science: Ensures that others can replicate your results and reproduce your analysis reliably.
To create and activate your virtual environment, follow these steps:
Navigate to the directory where you want to create the environment using the
cdcommand in the terminal.Create the virtual environment:
python3 -m venv <your_environment_name>
Activate the virtual environment:
source /path/to/environment/bin/activate
Install the MEGqc Package#
Once your environment is activated, you can install Python packages with pip, and these installations will only apply to your virtual environment. To install MEGqc core functionality, run the following command in the terminal:
pip install meg_qc
Install depencies?#
Thanks to the last update, it’s not necessary to manually pip install the different dependencies anymore. All of them are installed automatically along with the MEGqc package. If you want to know more about them and their functionalitiy, please visit the pipeline basics page.
Still, if your python version is older than 3.9, it might be necessary to upgrade pandas to 2.2.3 version:
pip install --upgrade pandas.