
Start
Quick start
Convert the multimodal sample from its raw folder to a validated BIDS dataset in nine steps. Each step links to the chapter of the course that explains it.
From raw folder to BIDS
Step 1. Create a project
On Home, in Create a new dataset, type quick_start as the dataset name, choose where to create it with Browse... (not inside the sample's folder), and click Create dataset. The Converter opens on the new, empty dataset.
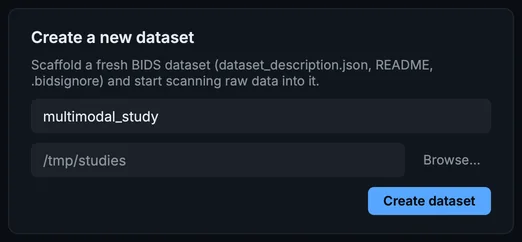
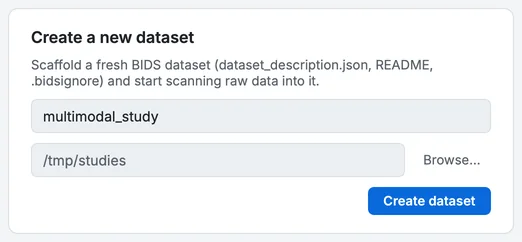
Create a new dataset, on Home.
- Dataset name
- Where it is created
- Browse…
- Create dataset
More in Projects.
Step 2. Choose the raw folder
In the Converter, click change… at the end of the Raw input bar and choose the sample's raw folder.
Step 3. Scan
Click Scan…. After a few seconds the scan table lists 19 rows, one per recording: 15 ticked to convert, and 4 left out on their own (three scout images and a scanner report).
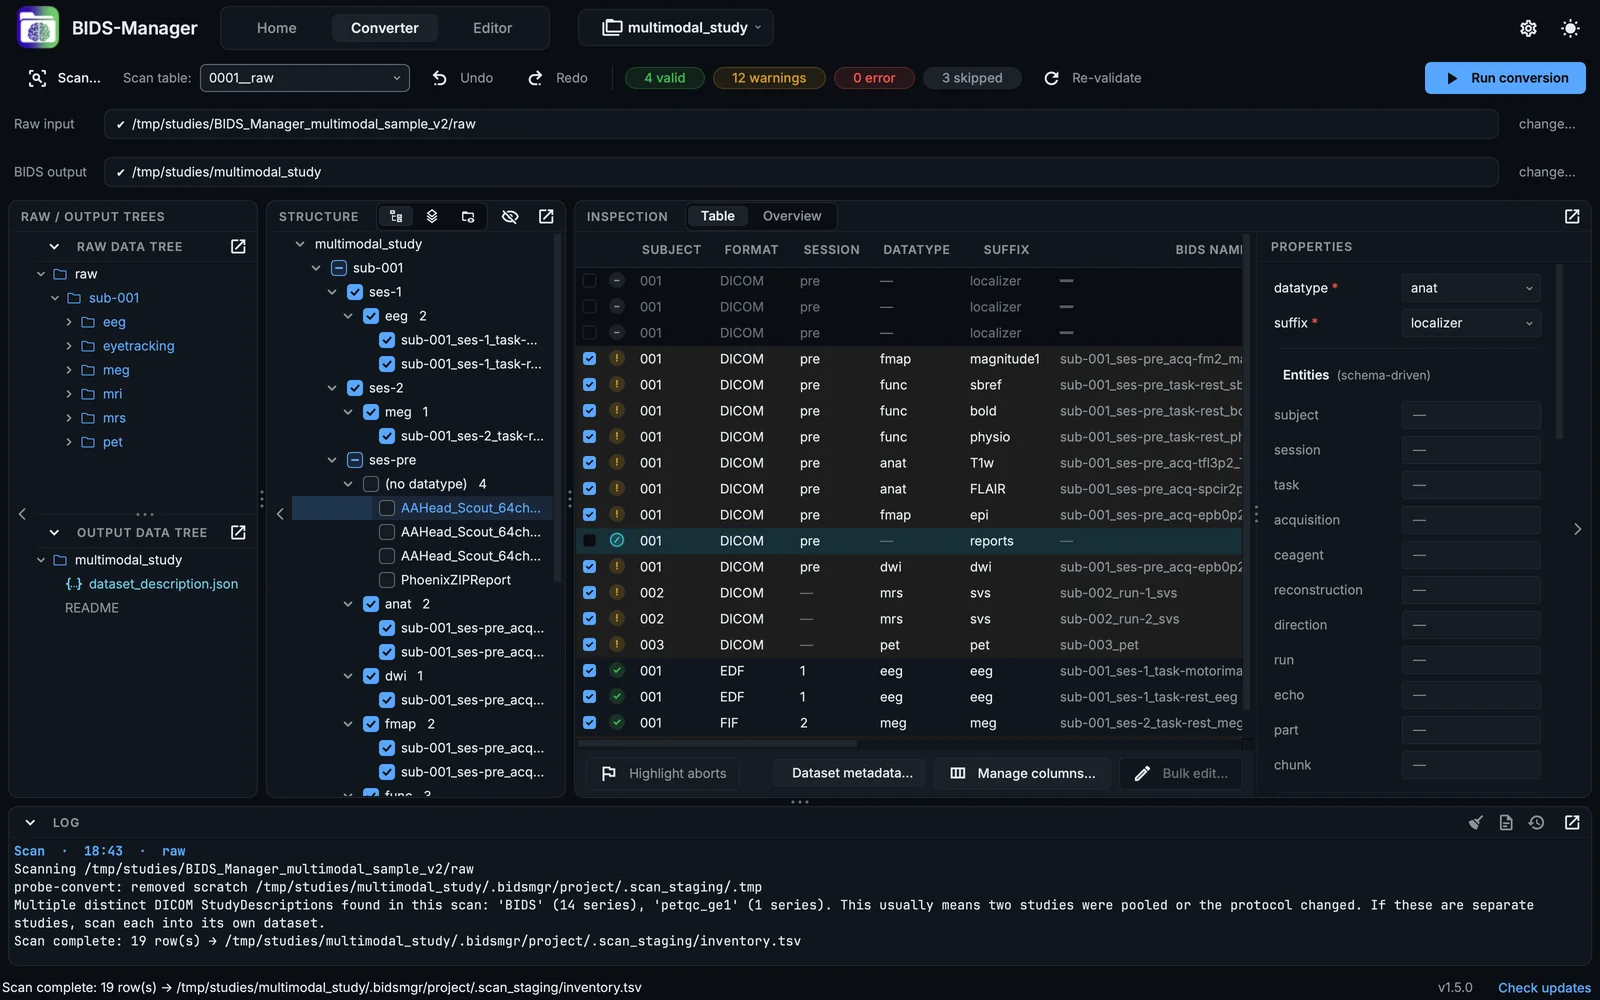
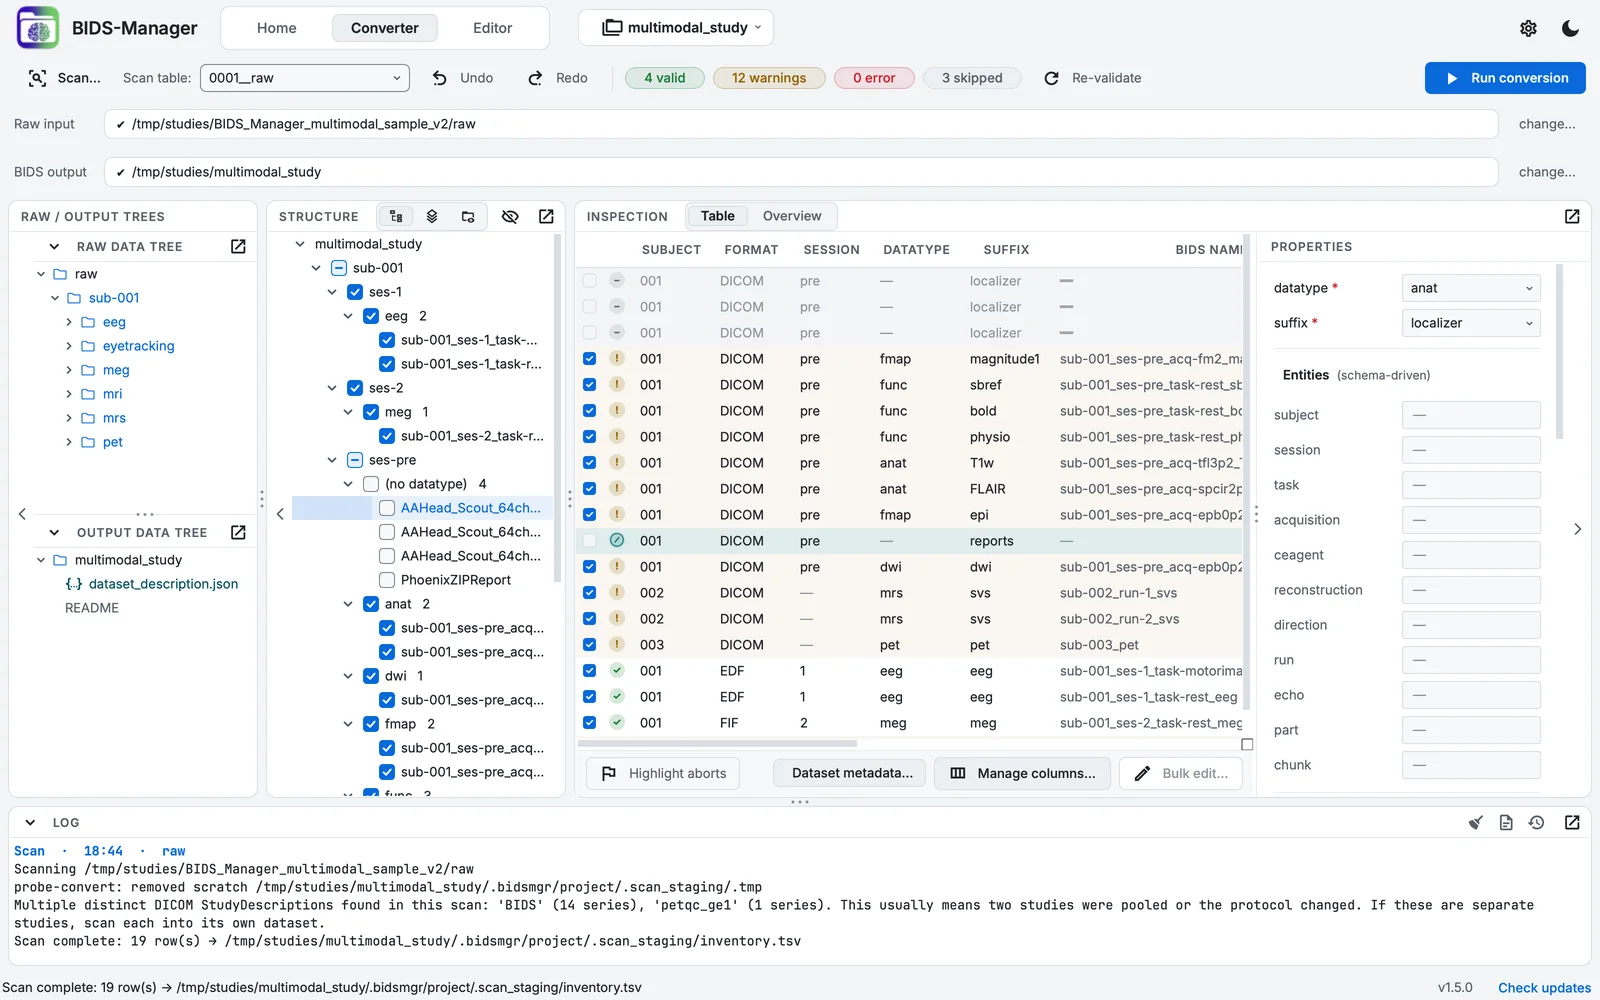
The Converter after the scan.
- One row per recording
- The structure the scan found
- 4 valid, 12 warnings, 0 error, 3 skipped
More in Scanning raw data.
Step 4. Set one subject
The sample is one participant, but each source names them in its own way, so the scan proposes several subjects. Click the first ticked row, ⇧ + Click on macOS, Shift + Click on Windows and Linux the last, then ⌘ + Click on macOS, Ctrl + Click on Windows and Linux the PhoenixZIPReport row to take it out again, so the 15 rows to convert are selected. Click Bulk edit… under the table, choose subject in Column:, type 001 in New value:, and click Apply to 4 row(s).
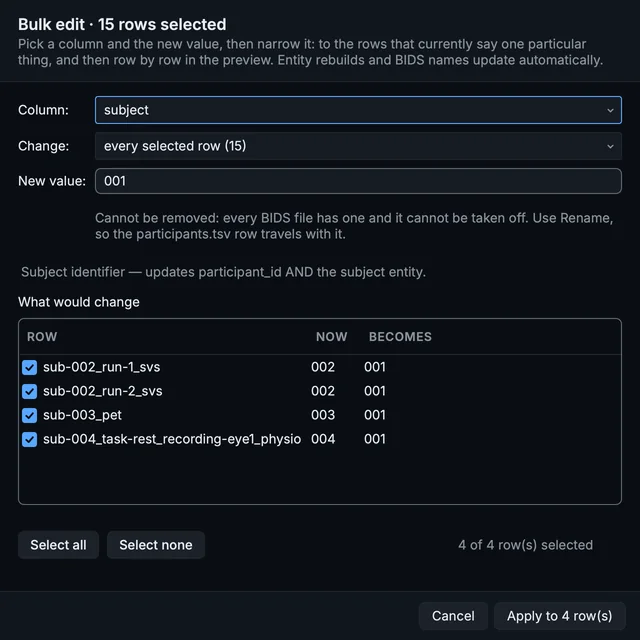
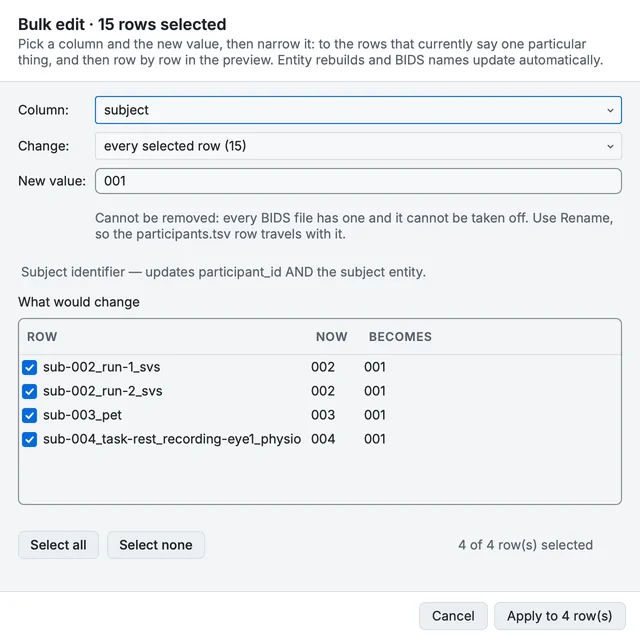
Bulk edit, setting the subject of the selected rows to 001.
More in The scan table.
Step 5. Set one session
With the same rows selected, open Bulk edit… again, choose session, type 01, and click Apply to 15 row(s). Every BIDS name in the table now starts with sub-001_ses-01_.
Step 6. Add the PET doses
BIDS requires facts about the PET injection that no scanner records. Click Dataset metadata… under the table, scroll to PET dose file, click Import… and choose dose_sheet.csv from the sample folder. Click Save.
More in Metadata you provide.
Step 7. Convert
Click Run conversion at the right of the toolbar. The conversion writes the dataset, then the metadata, then validates it. When it is done, a message says Conversion complete. It took 15.6 seconds from creating the project, here.
More in Converting.
Step 8. Validate in the Editor
Click Editor in the header, then Validate dataset in its toolbar. The dataset has 65 files; the Editor reports 27 files valid, 114 warnings and 1 error.
The warnings are placeholders for what no file records (authors, task descriptions, the institution), each marked TODO in its file. The error is in BIDS Manager's own output: the PET row of the session's _scans.tsv has an acquisition time without a date.
More in Validating in the Editor.
Step 9. Fix the error
Select sub-001_ses-01_scans.tsv in the tree, double-click the PET row's acq_time cell (the last row), type 2009-10-02T09:28:23, press Return on macOS, Enter on Windows and Linux and click Save above the table. Validate dataset again: no errors.
How the course does it, with the reason for the date: Validating in the Editor.