
Learn · Chapter 4 of 15
The scan table
The table between the scan and the conversion is where you decide what the dataset will be. Read its columns and row states, edit a cell, and set one subject and one session for the whole sample in two edits.
Read the table
Each row is one recording. Its BIDS name is built from the cells of the row: change a cell and the name follows.
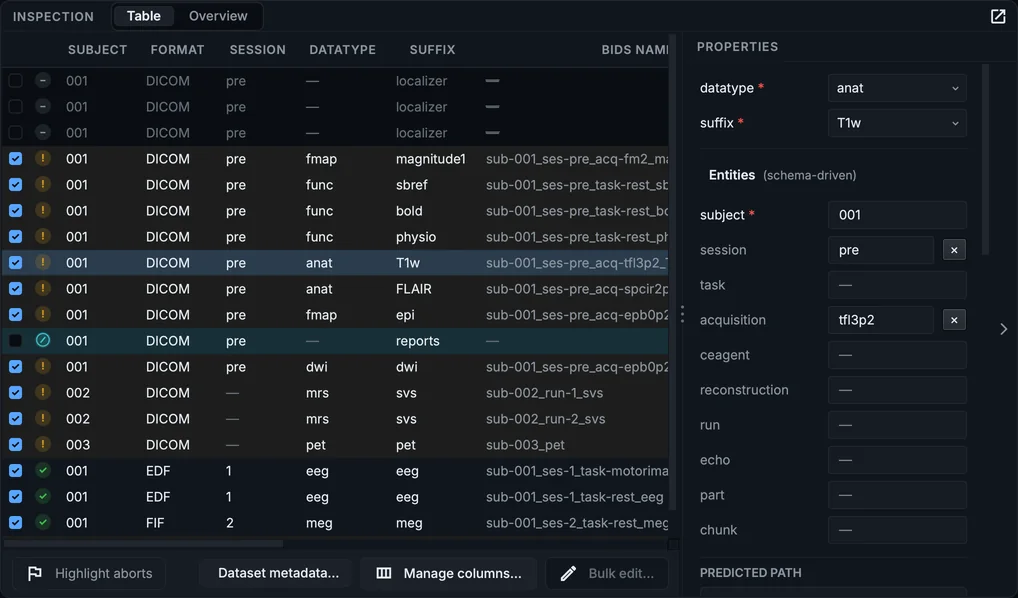
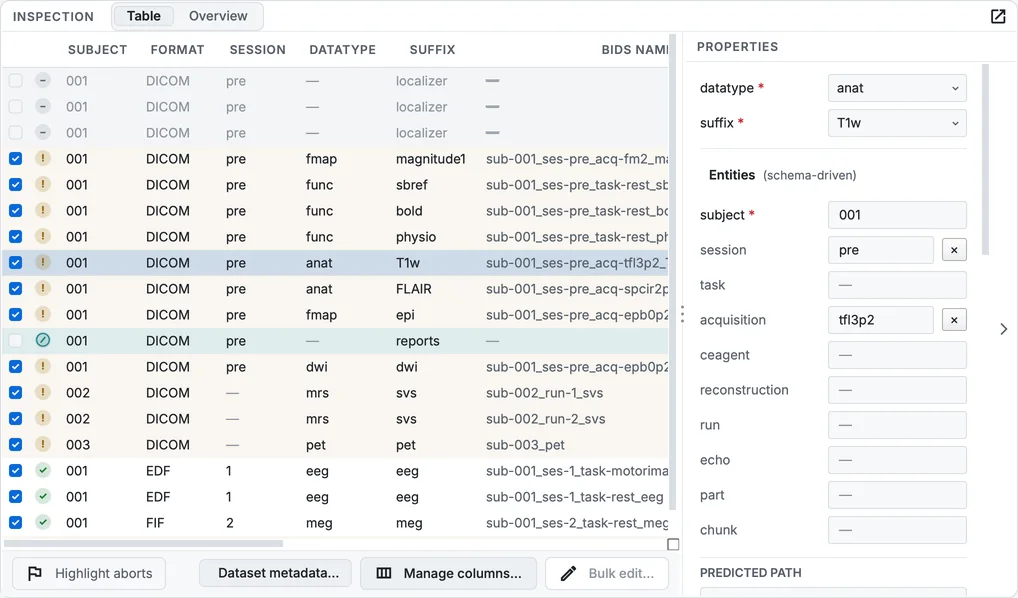
The scan table in the Table view, with the T1w row selected, and the Properties panel beside it.
- Include
- State
- Subject
- Session
- Datatype
- Suffix
- BIDS name
- Highlight aborts, Dataset metadata, Manage columns, Bulk edit
The columns shown at first:
| Column | What it holds |
|---|---|
| Include (tick) | Whether the row is converted |
| State (badge) | The row's state, explained below |
| subject | The participant the row is converted under |
| format | What it was read from: DICOM, ECAT, EDF, FIF, EyeLink |
| session | The session, blank when the study has none |
| datatype | The BIDS folder it goes in |
| suffix | What the recording is |
| BIDS name | The file name it will be written as, without its extension |
| sequence | The name the scanner or the file gave it |
| dataset | The dataset the row belongs to |
| modality | How the data was acquired: mri, pet, eeg, meg |
| task, run | The task and run labels, for the rows that have them |
| confidence | How sure the classifier is of the name, from 0 to 1 |
| origin | The folder in the raw data the row was found in |
Many more are available. Manage columns… under the table lists every column with a note on what it holds; tick the ones you want. Drag a column's header to reorder the columns, and drag its edge to widen it. The full list is in Scan table columns.
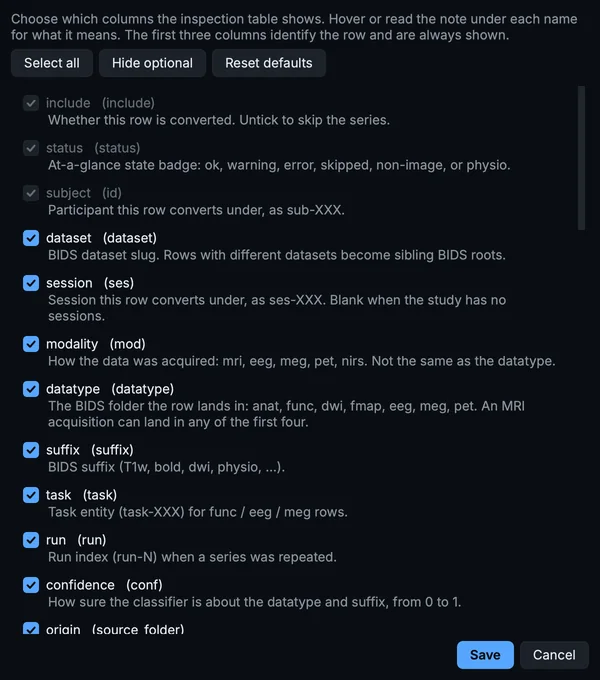
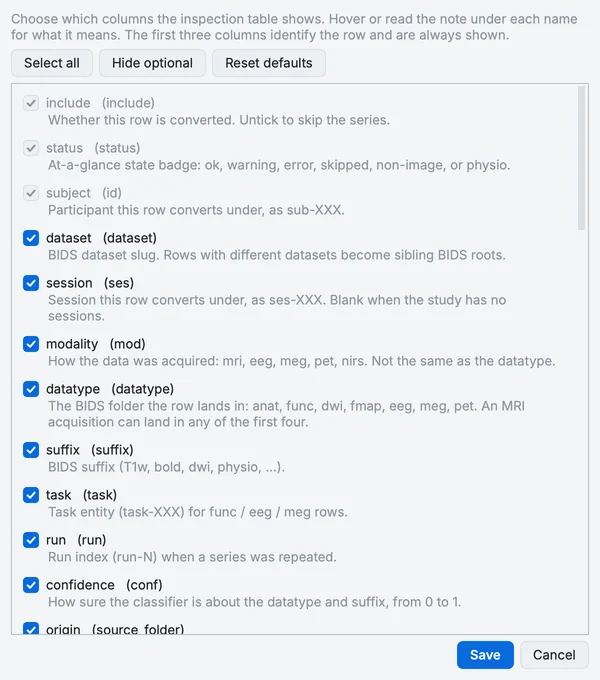
Manage columns.
Row states
The badge in the second column says what state the row is in, and the row is tinted to match:
| Badge | State | What it means |
|---|---|---|
| ✓ | Valid | Nothing to say: it converts as it is |
| ! | Warning | A note worth reading; it converts as it is |
| ✕ | Error | It cannot convert as it is: no name, or a name another row also has |
| − | Skipped | Not ticked: it is left out |
| ⊘ | Non-image | A DICOM object without an image, left out |
| P | Physiology | Converted by bidsphysio, beside its run |
Hover a row to read its notes. The toolbar counts the rows as valid, warnings, error and skipped (non-image and physiology rows count as valid); click warnings, error or skipped to list those rows.
Edit a cell
Step 1. Open a cell for editing
Double-click a cell in an editable column: session, datatype, suffix, task or run (and the participant and recording columns you can show). The cell becomes a field or a dropdown.
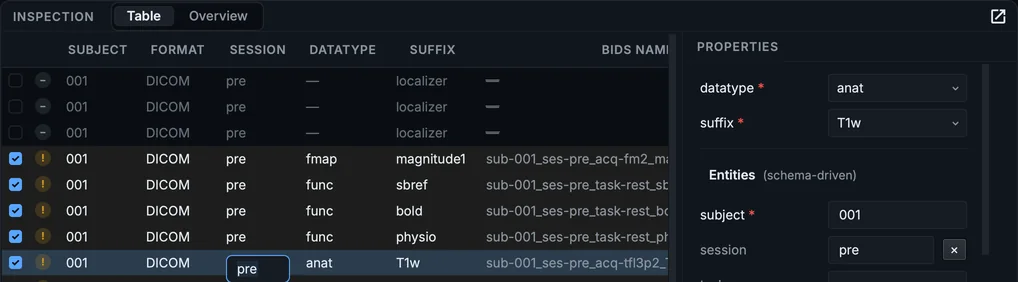
Editing the session of the T1w row.
Step 2. Type the new value and confirm it
Press Return on macOS, Enter on Windows and Linux. The row's BIDS name is rebuilt and checked against the standard at once. A value that breaks the standard's format, such as a session label with a space, is kept but turns the row amber, and its note says which rule it breaks.
Press ⌘Z on macOS, Ctrl+Z on Windows and Linux to undo an edit. Every edit is recorded in the project, so undo works after closing and reopening BIDS Manager too, back to the last conversion.
Leave a recording out, or put it back
Untick a row's box to leave it out of the conversion; tick it to put it back. The boxes in the Structure tree beside the table do the same for a whole subject, session or datatype at once. Leaving a row out never deletes it: it stays in the table, with its BIDS name struck through.
Set one subject and one session
The scan proposed four subjects and three sessions for what is one participant's single visit (chapter 3). Two bulk edits fix that.
Step 3. Select the rows to convert
Click the first ticked row, then ⇧ + Click on macOS, Shift + Click on Windows and Linux the last one. The range includes one row that is left out, the PhoenixZIPReport: ⌘ + Click on macOS, Ctrl + Click on Windows and Linux it to take it out of the selection, so the 15 rows to convert are selected. (⌘ + Click on macOS, Ctrl + Click on Windows and Linux adds or removes one row.)
Step 4. Open Bulk edit
Click Bulk edit… under the table. The Bulk edit dialog applies one value to one column across the selected rows.
Step 5. Set the subject to 001
Choose subject in Column:, keep every selected row (15) in Change:, and type 001 in New value:. What would change lists the rows the edit changes, each with its value Now and what it Becomes: the two spectroscopy rows, the PET row and the eye-tracking row. The other eleven already say 001.
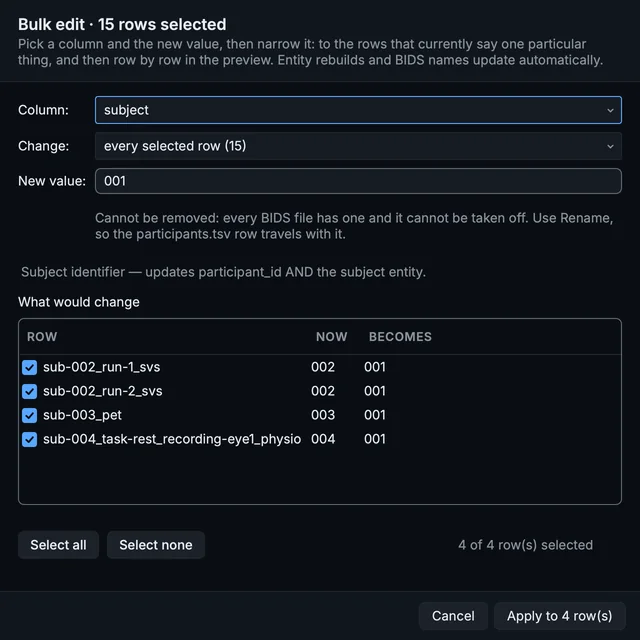
Bulk edit, with the subject set to 001.
Click Apply to 4 row(s). The four rows change, as one edit you can undo in one step.
Selecting the rows to convert and setting their subject to 001 with Bulk edit.
Step 6. Set the session to 01
With the same rows selected, open Bulk edit… again, choose session, type 01 and click Apply to 15 row(s): no row said 01 before, so all of them change.
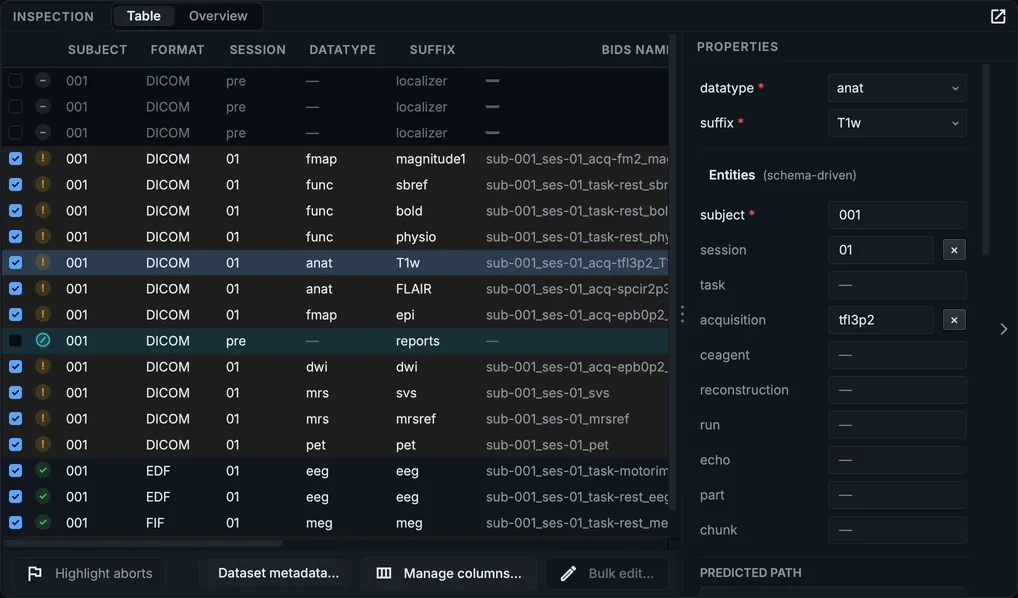
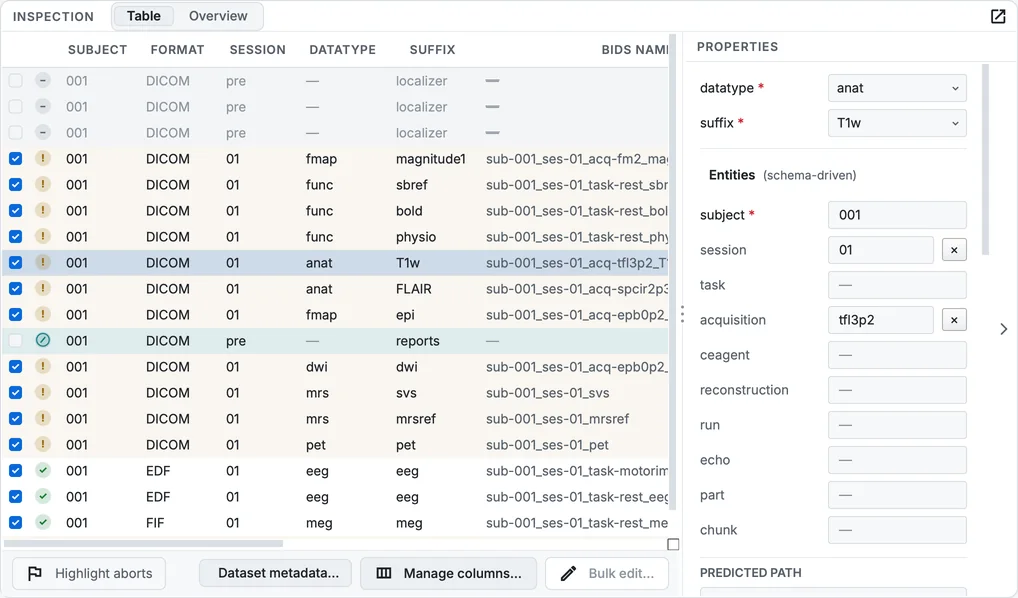
The table after the two edits: one subject, one session.
More from Bulk edit
- Change: narrows an edit to the rows that currently say one value, or to those that say nothing. Use it to rename one task label without touching the others.
- Column: also offers every entity the standard allows on all the selected rows, such as
acquisition. Tick Remove this entity from the rows that have it to take an entity off: rows that must keep it (a BOLD run's task) are left alone, and the dialog says how many. - Untick rows in What would change to leave them out of this edit.
Two more controls under the table
- Highlight aborts tints in purple the rows the scan believes are aborted runs: a series the operator restarted, usually after a few volumes. They are already unticked; the tint makes them easy to find. The sample has none.
- Dataset metadata… opens the questions about the dataset as a whole. That is chapter 7.
Your progress is kept in this browser only.