
Guides
Defacing and skull stripping
Remove the face from anatomical and PET images before a dataset is shared, check the result, and take it back if needed. Or keep only the brain, written as a derivative.
Why deface
A head MRI contains the face, and a recognisable face can be rendered from it with free software. Removing names from the files does not change that. Defacing blanks the face and the ears in the image itself, so the dataset can be shared.
Three moments to deface
| When | How | The original |
|---|---|---|
| During the conversion | Settings > Convert > Deface: anatomical images and single-volume PET images are defaced before the subject is written (a PET with several frames is left as it is) | stays only in your raw data |
| After the conversion | Tools > Deface... in the Editor, for the dataset, a subject, a session or a selection | kept in the project's .bidsmgr/ folder, and optionally in sourcedata/ |
| From a script | bidsmgr-deface <dataset> |
as above |
Deface in the Editor
Step 1. Open Deface
Choose Tools > Deface.... It lists the images that can be defaced and what will happen to each; images it cannot deface are listed with the reason.
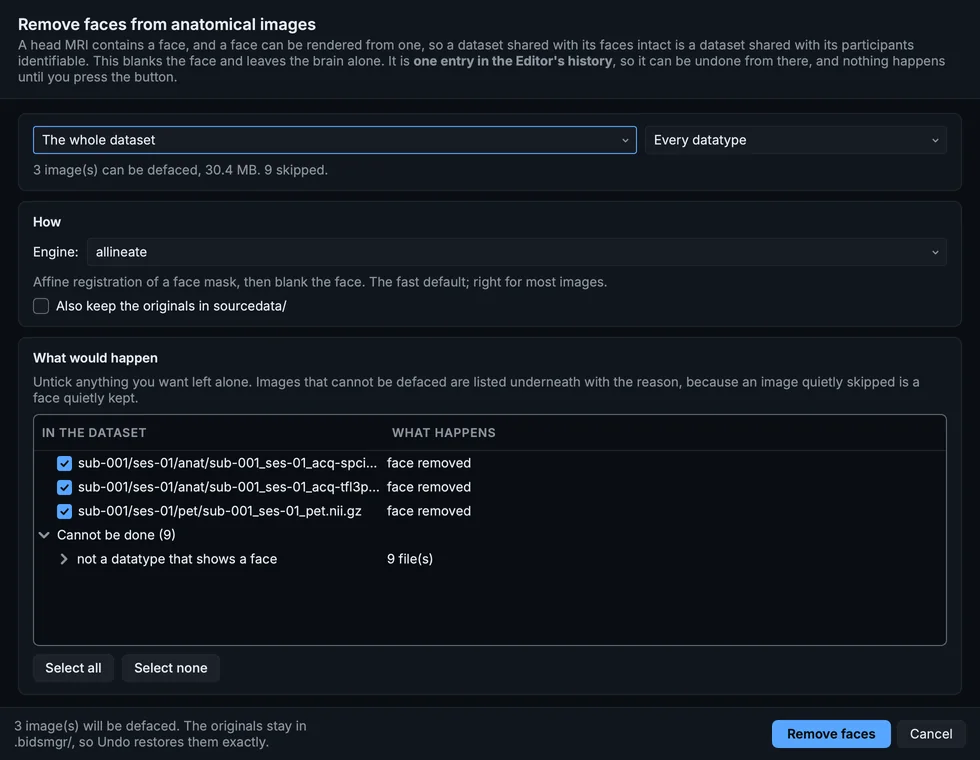
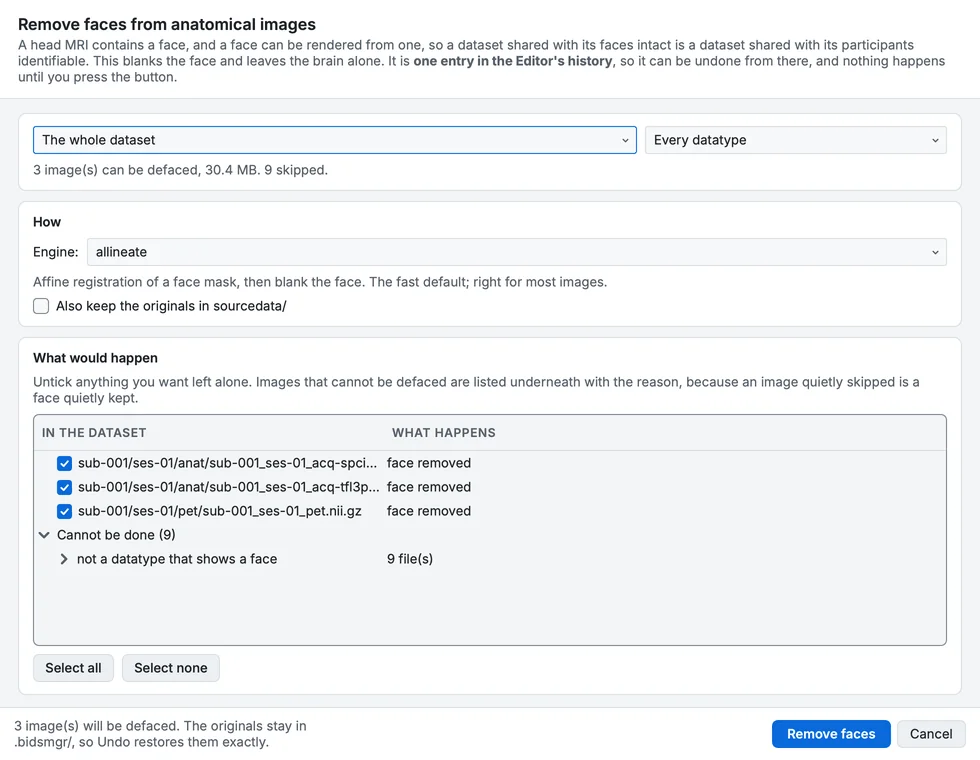
Deface, for the whole dataset.
Step 2. Choose the engine
The default, allineate, registers a face mask from an atlas to each image and blanks what it covers. It is fast and right for most images. The others are for images where it fits badly:
| Engine | When |
|---|---|
| allineate | the default |
| allineate, neck cropped | the scan reaches far below the chin; this one also crops the neck, which changes the image's size |
| allineate, Hellinger cost | the default fits badly; slower |
All three run on niimath, which comes with BIDS Manager (on Python 3.14 it has no package yet, and Deface is off).
Step 3. Remove the faces
Click Remove faces. Each image is replaced by its defaced version, and its sidecar records how it was defaced.
Check the result
Every defacing tool should be checked on every image: an atlas fit can miss part of the face, or cut into the brain.
Step 4. Compare
Select a defaced image and choose Tools > Compare with the original.... The image before defacing (the copy kept in .bidsmgr/ or sourcedata/) and the image now are shown side by side, with one crosshair and one camera.
The T1w before and after defacing, turning in the Planes + 3-D layout.
Look at the face in 3-D, and at the front of the brain in the sagittal plane: the brain must be whole.
Step 5. Put the face back if needed
Put the face back (or Tools > Put the face back...) restores the original from the copy kept in .bidsmgr/ or in sourcedata/, and takes the defacing record out of the sidecar, so the image can be defaced again with another engine.
Keep only the brain
Tools > Remove the skull... keeps the brain and removes everything else, face included. Its engines:
| Engine | How |
|---|---|
| mindgrab | a small neural network that finds the brain directly in the image; about ten seconds per image on a laptop, and its model is downloaded the first time |
| atlas brain mask | a brain mask from the same atlas, registered to the image: no download, but it can clip the cortex in places |
The result is written to derivatives/ as desc-brain, with the description that makes the folder a derivative dataset, and the raw image is left as it is: a skull-stripped image is not raw data. Overwriting in place is offered, and is not the default.
Before sharing
Defacing is one of the checks in Sharing a dataset. The quality check reports A face is visible on an image that was not defaced (Checking image quality).